We will start by saying that Moodle is a platform for creating online courses with many possibilities that we could not explain in a single article, but we will explain the fundamental ones to make it easier for you.
After this reading you will learn how to create a Moodle course, enroll students, create courses and add content.
Let’s see Moodle “inside”.
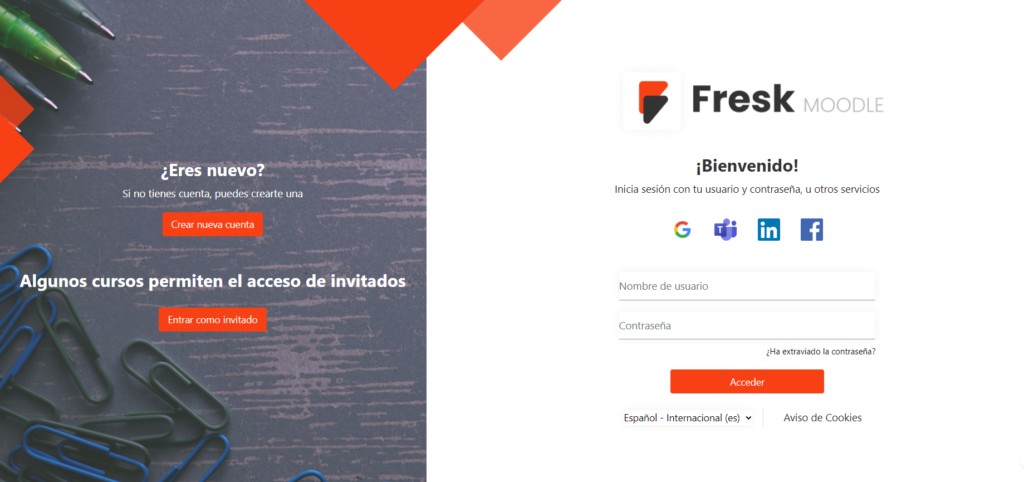
Access to platform
To enter the platform we will need the credentials, username and password that have been established.

Once inside, we will find the home screen with a navigation menu:
- Home Page
- Personal area
- My courses
- Site administration

Create new course
One way to become familiar with the e-learning platform is to start by creating a course in Moodle. Let’s see how to do it.
Within the “site administration” we find a new navigation menu. Clicking on the “courses” tab displays all these options:

If we click on “Create a new course” a new screen opens where we can enter the short and long name of the course (mandatory fields), whether we want it to be visible or not, the start and end date, course description, etc.
This is the initial configuration of a course, but we can also edit more details in the following fields, such as the appearance it will have, the number of sections that will compose the complete course, rename the default Moodle roles, etcetera.
Once the course is created, we are going to enroll students.
Does it seem complicated? Let us do it for you. Your complete elearning platform in 2 weeks.
Student enrollment in Moodle
To do this we will go to the “participants” tab and start enrolling users in our new Moodle course, if we already have users.

Here you will also assign the roles of each current user, e.g. student, teacher, teacher without editing permission…

If you do not have Moodle users yet, you must create them first. We will go back to the “site administration” tab and click on “users” and “Create a new user”.

In the next screen displayed, the new user’s details will be specified.
Adding content to a Moodle course
The content of the course that will be available to the student, we must add it well structured by topics.
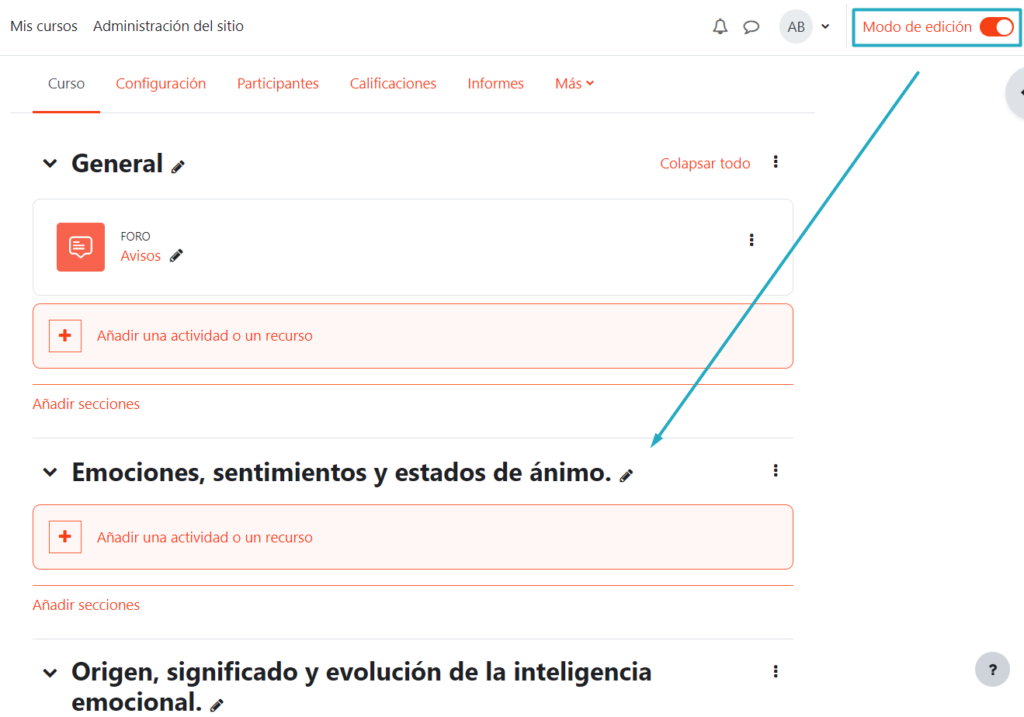
By default, the themes are created with the structure “Theme 1”, “Theme 2”, “Theme 3″… To do this, we need to have the “edit mode” located in the upper right corner active.

Within each topic, different Moodle training activities can be added. To include them we only have to click on “add an activity or resource” and a screen will open to select the type of resource or activity we want to add.
Activities allow interaction with students. Quizzes, assignments to be handed in by students, etc., while resources are content made available for students to consult.
You may be interested in: Easily create interactive activities in Moodle with H5P
Once added, we configure it to our needs.
Displaying a course
To make the course publicly available, we can go to the course settings and make sure that the display option is enabled.

Now you have a little bit of knowledge on how to get started with Moodle.
We recommend you to explore our Goodle platform, developed and designed by 3ipunt for companies that want to train their employees, but don’t know where to start and need an e-learning system in a short time, with everything included and without worries.


